Overview
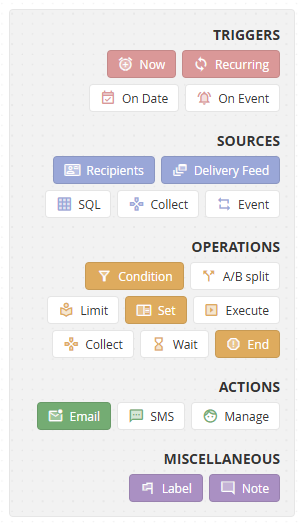
Each journey contains nodes, which are divided into five categories:
- Triggers
- Data Sources
- Operations
- Actions
- Miscellaneous
These nodes define how recipients travel through the Journey, which way they go on the crossroads, what data they will enriched by at specific points, and what happens when they reach the end of the journey.
Once you drag&drop a node into a scenario, the main menu will indicate in color that the node has been used at least once in the scenario. Nodes that have not yet been used in the scenario will remain white.

Basic example of a journey:

A journey always starts with a Trigger, usually has a Data Source to put recipients into the journey, Operations are used for segmentation and to direct the segments onto different paths, and Actions are used for sending or recipient management.
Basic Journey management
Much like the Campaigns, all journeys in your account are automatically sorted into tabs by status:
- Active – journeys that have been edited or switched on in the last month,
- Inactive – journeys that have not been edited or switched on for over a month (in last 30 days),
- Disabled – journeys that have been disabled (and can't be switched on unless enabled),
- All – all journeys in the account.
To delete, disable or enable a journey, click the arrow to the left of the journey name.
Icons to the right of the journey name:


New journey
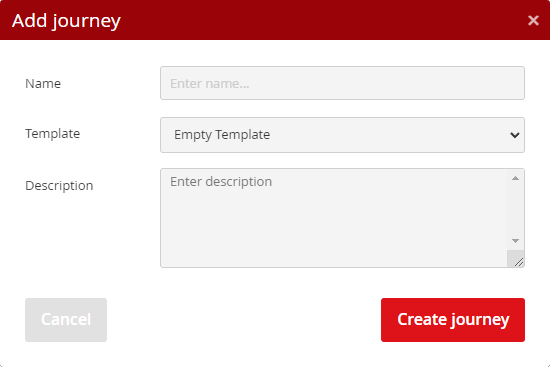
New journeys can be created by clicking the "Add journey" button at the top right section of the Journeys list. The dialogue window which appears next contains basic information about the new journey - it’s name and description.


