My Account provides a complete overview of your account and allows you to edit basic settings. You'll see the status of your account and its type, the number of emails sent, and your company's contact and billing information.
Keep your contact information up to date. If you need to change your billing email, send a request to helpdesk@mailkit.com.
My account is a place to:

Sender address settings
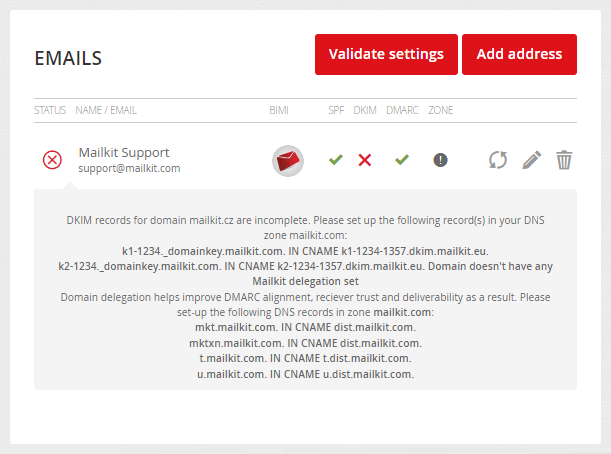
Email addresses from which campaigns will be sent are added here. The email address can only be assigned to a campaign after it has been verified and the SPF records, DKIM and DMARC are set correctly on the given domain.
A new sender address will be created by clicking the Add address button. In the text box, enter the email address to be verified and the name of the sender to be used. A verification email will be sent to the address provided, which will include a link to verify the address. The email address will not be verified until this link is clicked. If necessary, you can resend the verification email by clicking

Each Mailkit user must have their own user access. To add a new user, click Add user button.


When creating, it is necessary to fill in the username, the user's full name, email address (for sending a forgotten password), mobile phone number, password and user authorization level (User rights). It is also possible to check the box for Obfuscate PII -> this user will not have access to the personal data of the recipients.
In the case of the Agency version users created here will have access to the entire account - i.e. to agency clients. For individual users at the level of the agency account (agency employees), it is possible to assign only selected agency clients to which the user will have access.
Individual accesses to specific agency clients are based on the client's profile (oveview). Agency clients always log in at the individual address of the agency interface.
User management allows you to create an unlimited number of users and assign them 4 different levels of user rights.
Administrator
The account administrator has full access to all modules and settings. If necessary, this function can be assigned to multiple users.
Editor
The Editor can manage campaigns, templates, recipient lists and has access to reports. Cannot schedule and send a campaign, can only send a test message. Editor doesn't have access to the basic account settings.
Publisher
The Publisher can manage campaigns, templates, mailing lists and has access to reports. Can schedule and send a campaign. Publisher doesn't have access to the basic account settings.
Reporter
The Reporter only has access to campaign reports. This type of user is, for example, suitable for marketing and sales staff.
Allowed IP addresses
To increase the security of access to the account, it is possible to set each user only from which IP addresses he can log in to the account. Only a user with administrator rights can allow IP addresses for user accounts.
For each user, it is possible to click on the


Info email – this is the address on whose behalf the general communication of your account will take place and to which any notifications about the unsubscribing of recipients will be sent. From this address, for example, emails will be sent to confirm the sign-up to the list of recipients or confirmation of sign-out to the recipient who has unsubscribe.
Send recipient unsubscribe notifications by email – If you want to receive an email every time one of your recipients unsubscribes, leave this option checked.
Send mailing list removal confirmation emails to recipients – If you wish to send a unsubscribe confirmation to the recipient who decided to unsubscribe, leave this option checked.


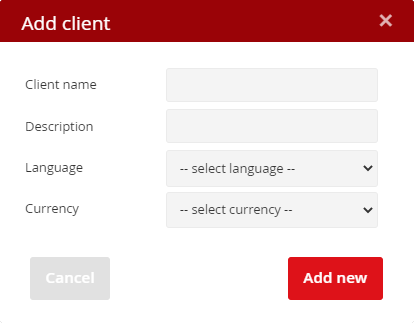
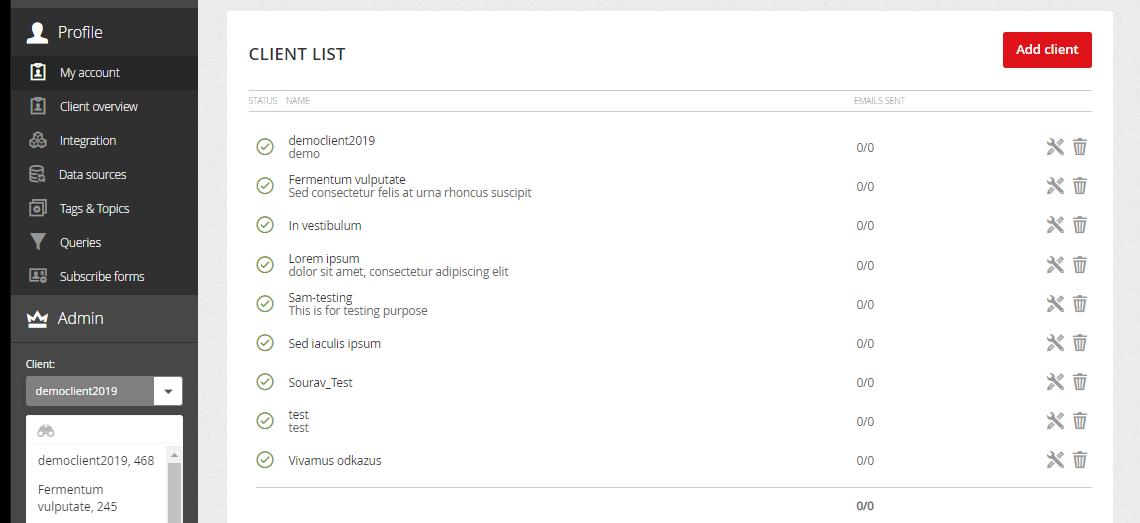
In the case of an agency account, this section is where you add your clients and create their accounts. A new agency client is created via the Add client button.
Fill in the real name of the subject as the Client name, e.g. Company ABC (in the case of separate accounts of the same entities, e.g. Company ABC – CZ and Company ABC – SK). This name will be reflected, for example, in the system pages (unsubscribe page), so it is visible. The Description is then only for your orientation.


Once you have created an agency client, you will be able to switch to it in the drop-down bar located in the left menu. To set up a client account, then proceed to the Profile / Client Overview menu, where you will find the management of sending addresses, users, customization settings and subdomain settings for outgoing messages.

Agency URL: The address where users of the agency client will log in to the system. The address must always be set together with Mailkit Support.
Intro image URL: The address where the image displayed on the login page to the agency interface is located.
CSS URL: The address where the custom CCS style file for the agency interface is located.
Favicon URL: The address where the favicon file is located.
Logo URL: Upload the logo of your agency (size 480x120 px). This logo will be displayed in the application instead of the Mailkit logo.


